How to use forms for your email marketing
There is a huge operation area for forms in e-mail marketing e.g. newsletter registrations, events, surveys and so on. Below you can find detailed information on how to create and use forms in your email marketing.
Why do I need forms in email marketing?
Forms are the all-round talent in email marketing and their importance is often underestimated. Through the successful integration of forms and your email marketing software, you create the perfect extra value for you and your recipients.
The eworx Marketing Suite form editor not only increases flexibility in design, but also has unprecedented possibilities for use. Let yourself be inspired by possible applications:
- The newsletter registration
The classic among email marketing forms is the registration for the newsletter. By connecting the form on your website with your email marketing system, new subscribers are created directly in your subscriber database. It is also possible to welcome them with a welcoming series or the double-opt-in mailing – fully automated.
- The contact request
Request forms can also be implemented on your website. With this interaction, you can simply integrate the newsletter registration into all your request forms on the website. In addition, you can automatically send a confirmation mail so the recipient knows that the query has been received.
- The download
Do you offer a download of a whitepaper, e-book or something like this on your website? Ask the relevant data, such as the email address, via a form and send an automated email campaign to your interested parties with the promised information or resources. It works similar with the registration for an information series.
- The survey
With the form editor, you can easily implement a survey. Use subscriber and form fields to get interesting information from your subscribers. The entered data can be stored individually with the respective subscriber and you can use it for further evaluations and measures.
- The order
Let your subscribers process an order directly through the newsletter and give your existing customers the possibility to order more articles via form. An integration with the respective online shop leads your email marketing to a completely new level.
- The information procurer
Forms will help you to get to know your subscribers even better. As part of a welcome campaign, you can easily integrate a small survey of the respective interests or other important data, such as the date of birth. This information can be used optimally for further email marketing measures.
- The event registration
Registration for events can easily be handled with the eworx Marketing Suite form editor. From the registrations, you can automatically generate registration groups or lists by the system. However, there is more than that: Through the event management module, you can display the whole process of your events.
How do I create a form in the eworx Marketing Suite?
If you enter the mailworx form editor via Campaigns – Forms, you will see your forms sorted by status. With the button „Add new form„, you can create a new form in just a few steps. Enter the desired title and language to save the form and start editing.
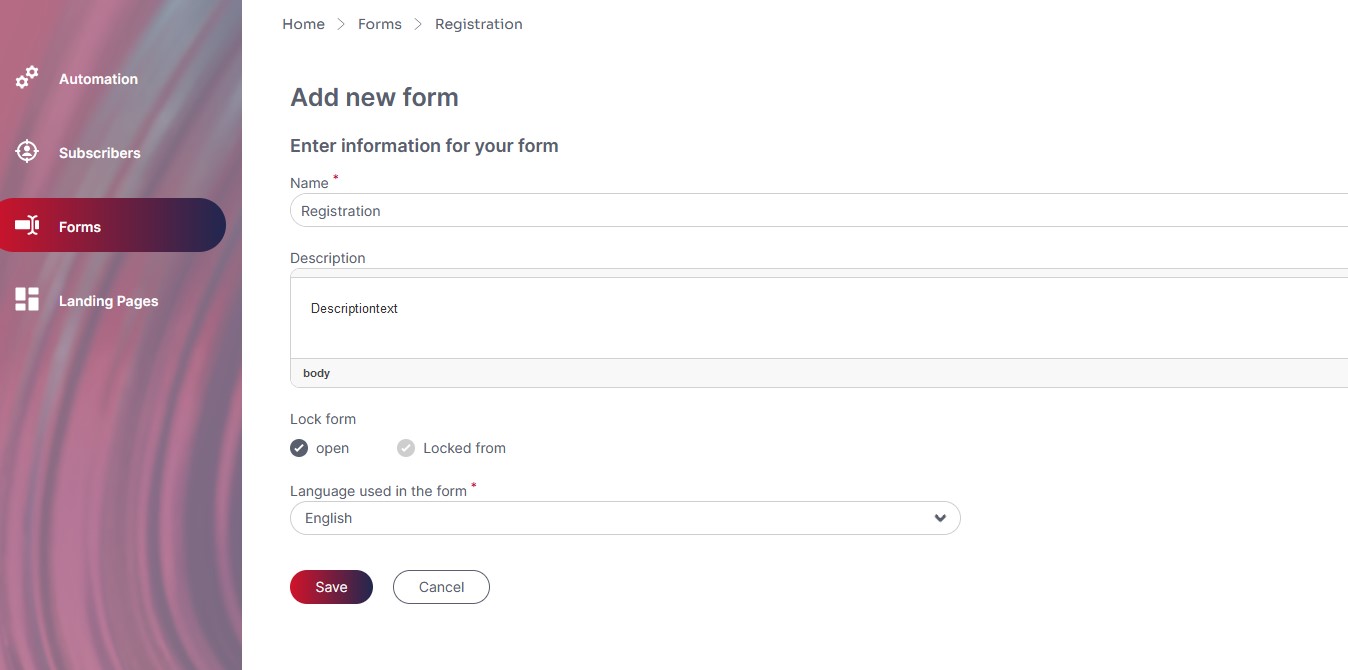
Right after saving, you will see the additional editing tabs and options. In addition to entering a description, you can also specify whether the form should be deactivated at a specific point in time. From this point on, the text that you define in the deactivation text field appears if someone calls up the form.
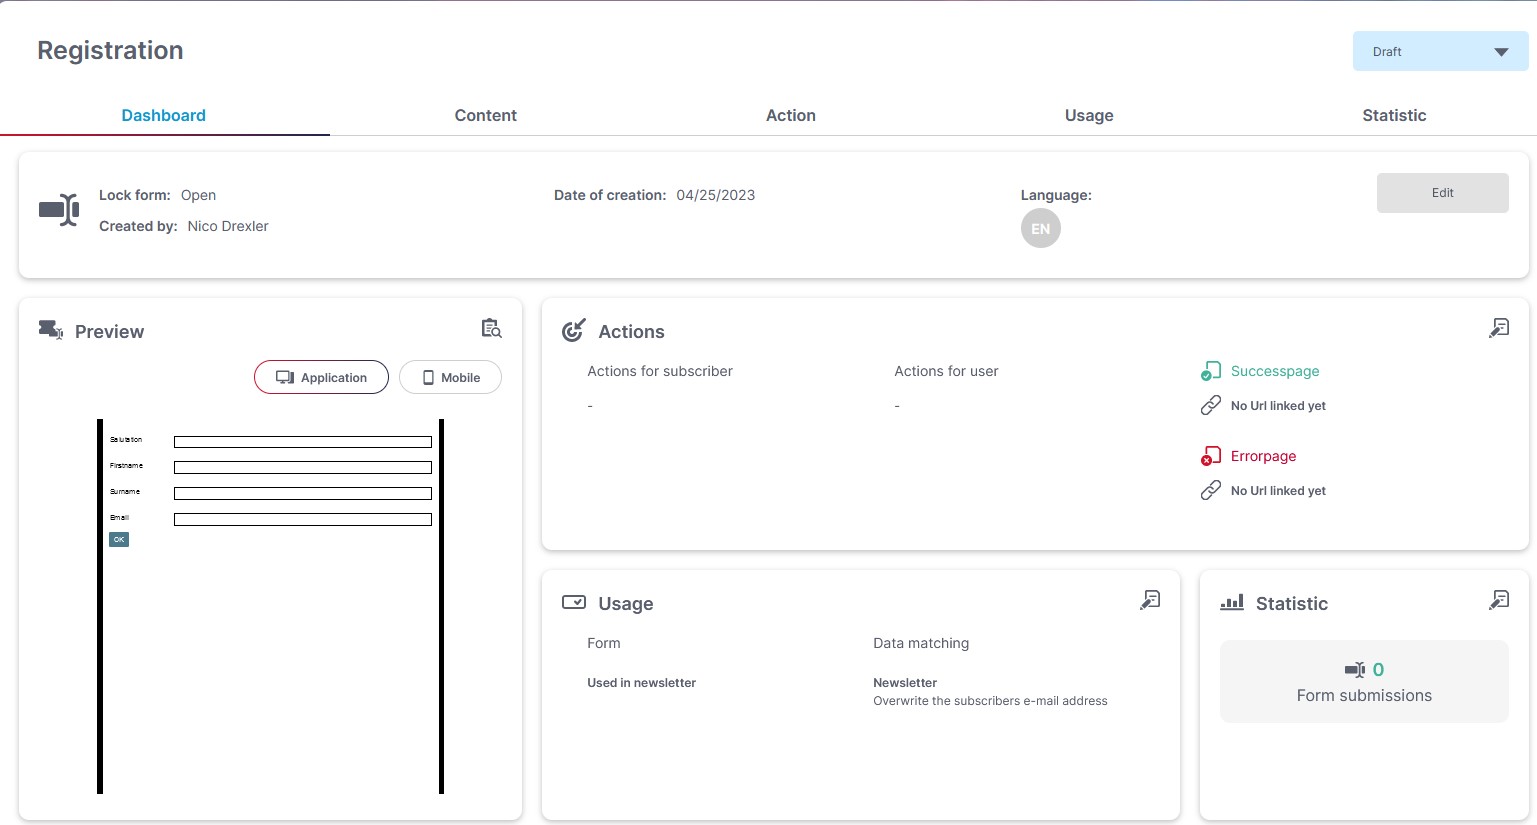
What can I adjust in the tab „content“?
How can I edit and design a form?
The editing and design of the form can be done in the tab „Content„. Therefore, you have four categories: subscriber fields, form fields, extras and layout. In each category, you can find more settings to configure your desired form.
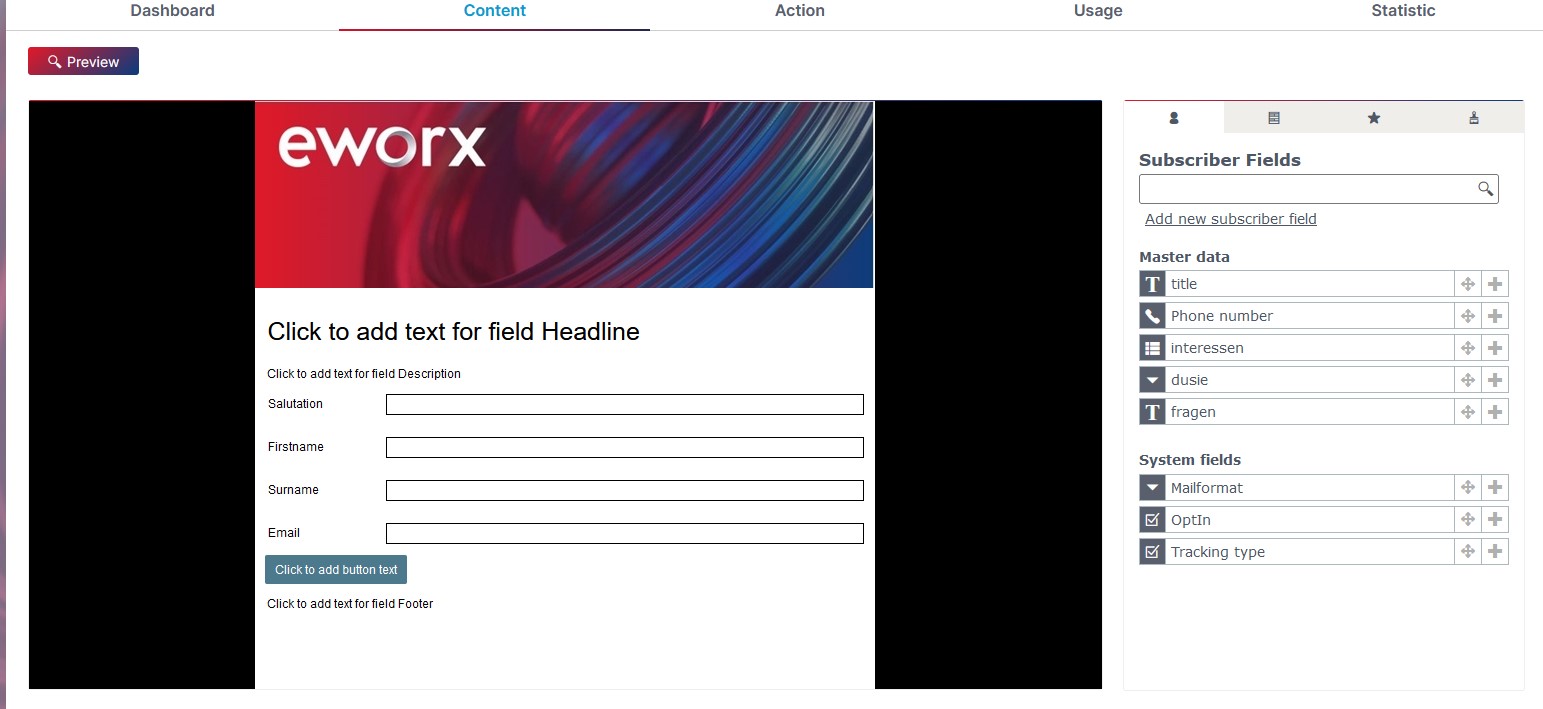
What is the difference between subscriber and form fields?
Values from subscriber fields are saved in the subscriber database. The standard form contains salutation, first name, surname and the email address.
Form fields are only used for the current form and the values are not stored in the subscriber database. For example, they are used for satisfaction surveys, where the answers do not have to be stored in the long term and are used for a one-time evaluation.
How can I add subscriber fields to my form?
You can find the subscriber fields in the tab „Content“ within the respective category. Use the search function to search for already existing subscriber fields and add them via drag & drop to your form.

Each subscriber field can be edited directly in the form editor. By clicking on the gear symbol, all related settings are displayed on the right side. It is in your hand, which fields you want to select, hide or declare as a required field.
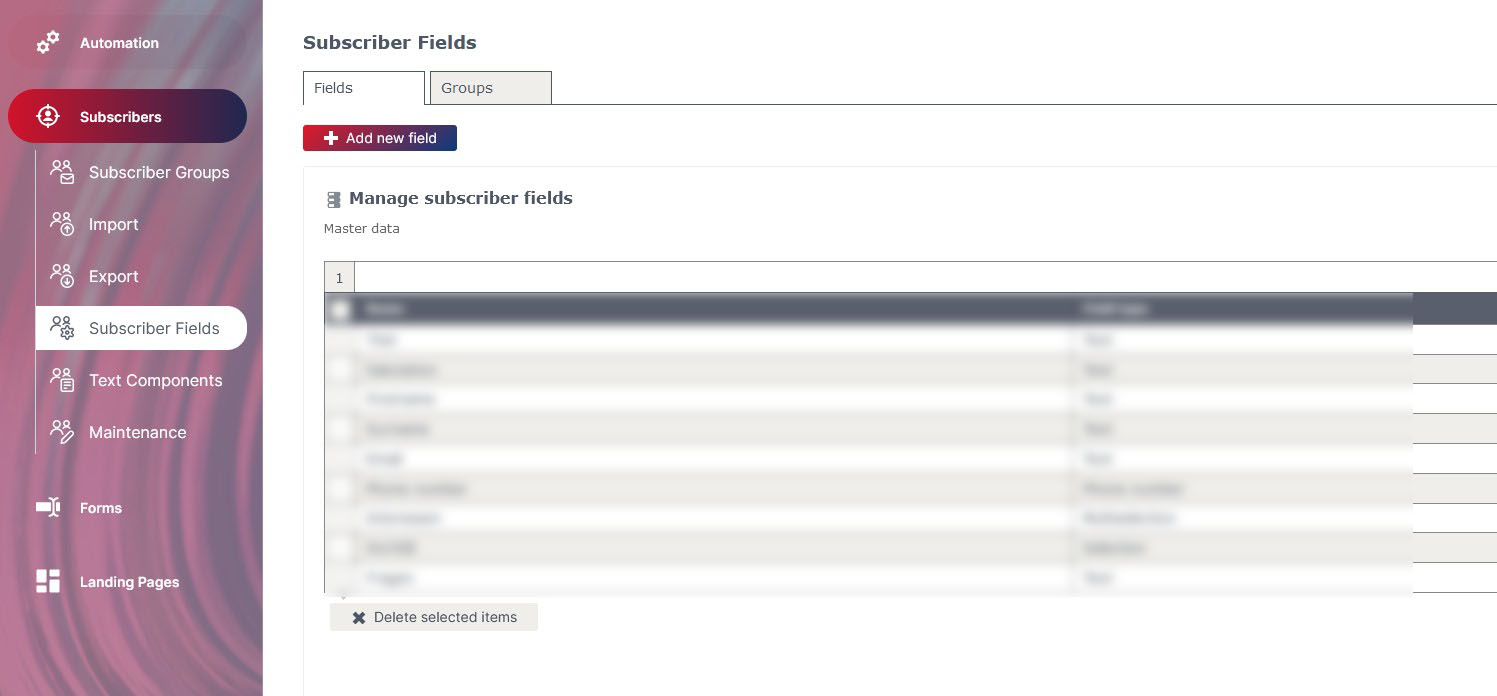
If you want to select additional subscriber fields, you must first create and add them. You can do this by going to Subscribers – Subscriber fields in your mailworx menu. After saving the new field, it is possible to choose it in the category section of your form.
How can I add form fields to my form?
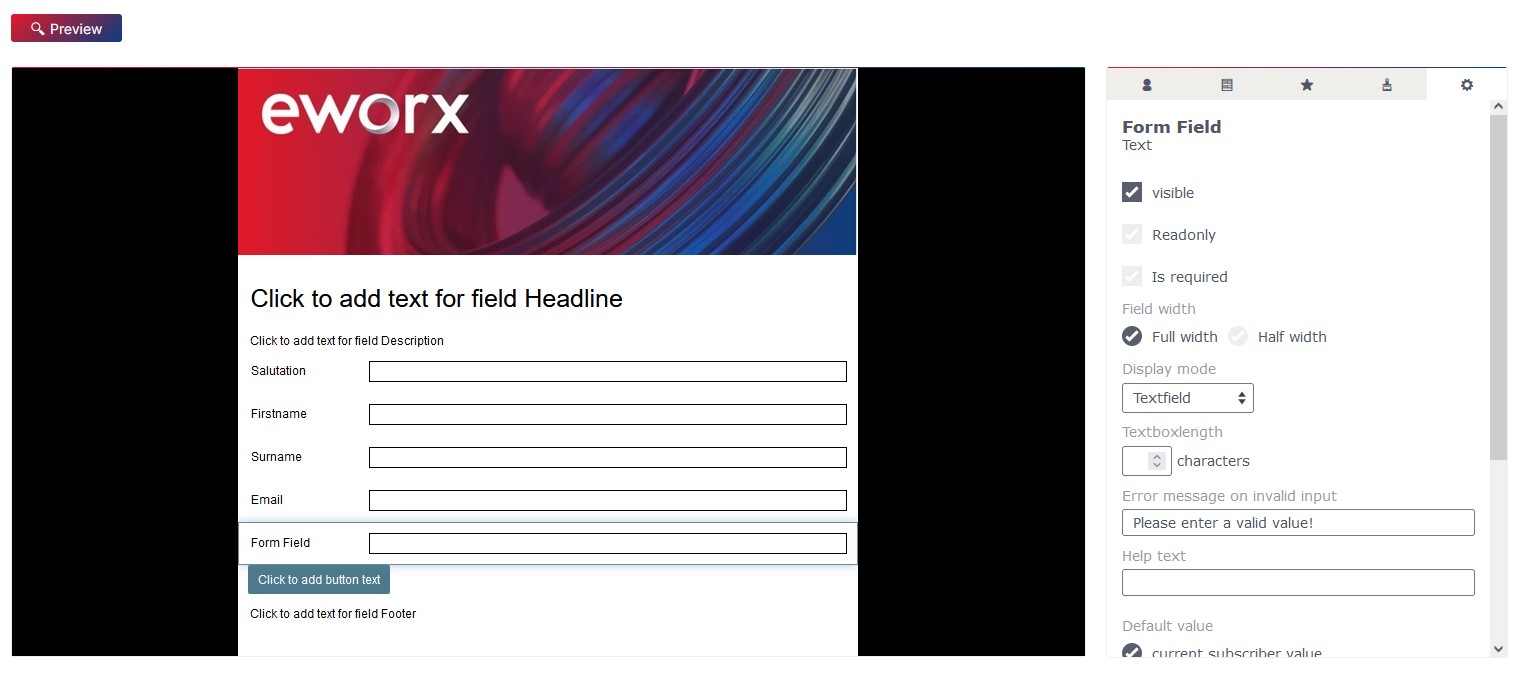
In the tab „Content„, you also have the category „form fields“ where you can choose between different field types. Via drag & drop, you can add and place the respective field in the form editor. Don’t forget to enter the appropriate field label.
Further setting possibilities, like displaying the form field only with half the width or declaring required fields and help texts, simply click on the gear symbol or on the field itself. The respective settings are shown on the right side.
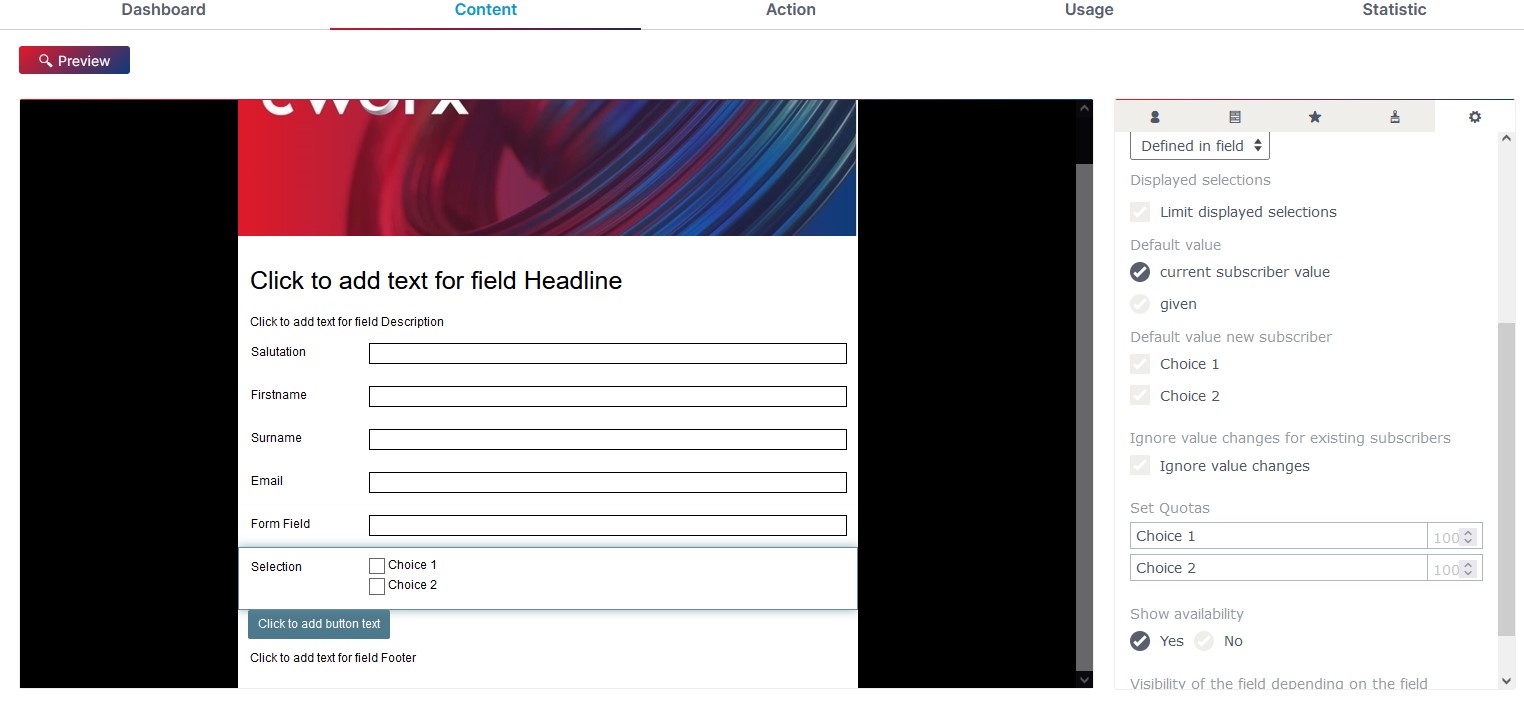
The form fields selection or multiselection can be configured with as many options as required. In the settings of the respective selection field, you can also select different views.
Which extras can I add to my form?
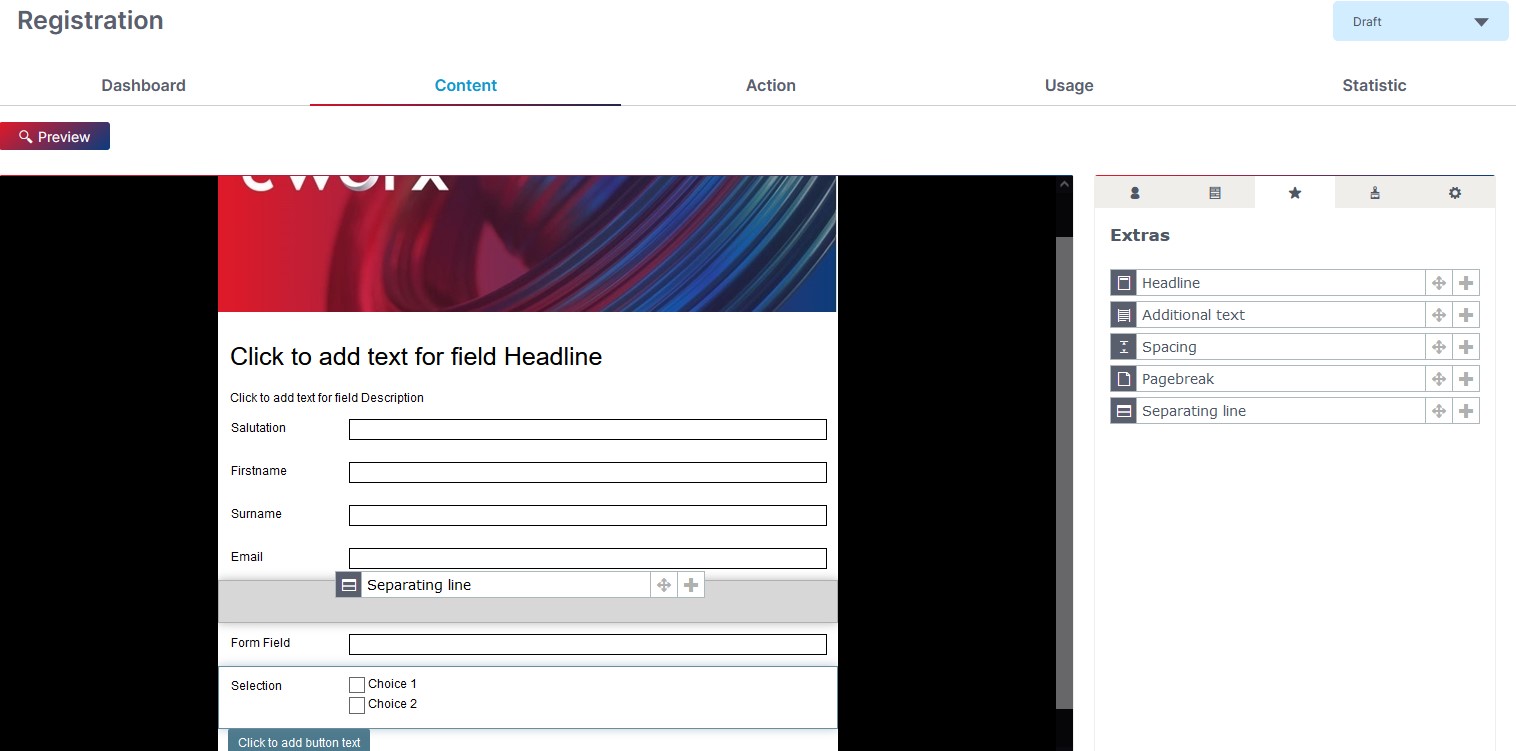
Next to the subscribers and form fields, it is also possible to add extras to your form. You will find them in the category with the star. You can use these elements for inserting headlines, free text, spacing, a page break or a separating line. With these extra elements, you can enhance your form optically.
How can I adjust the layout?
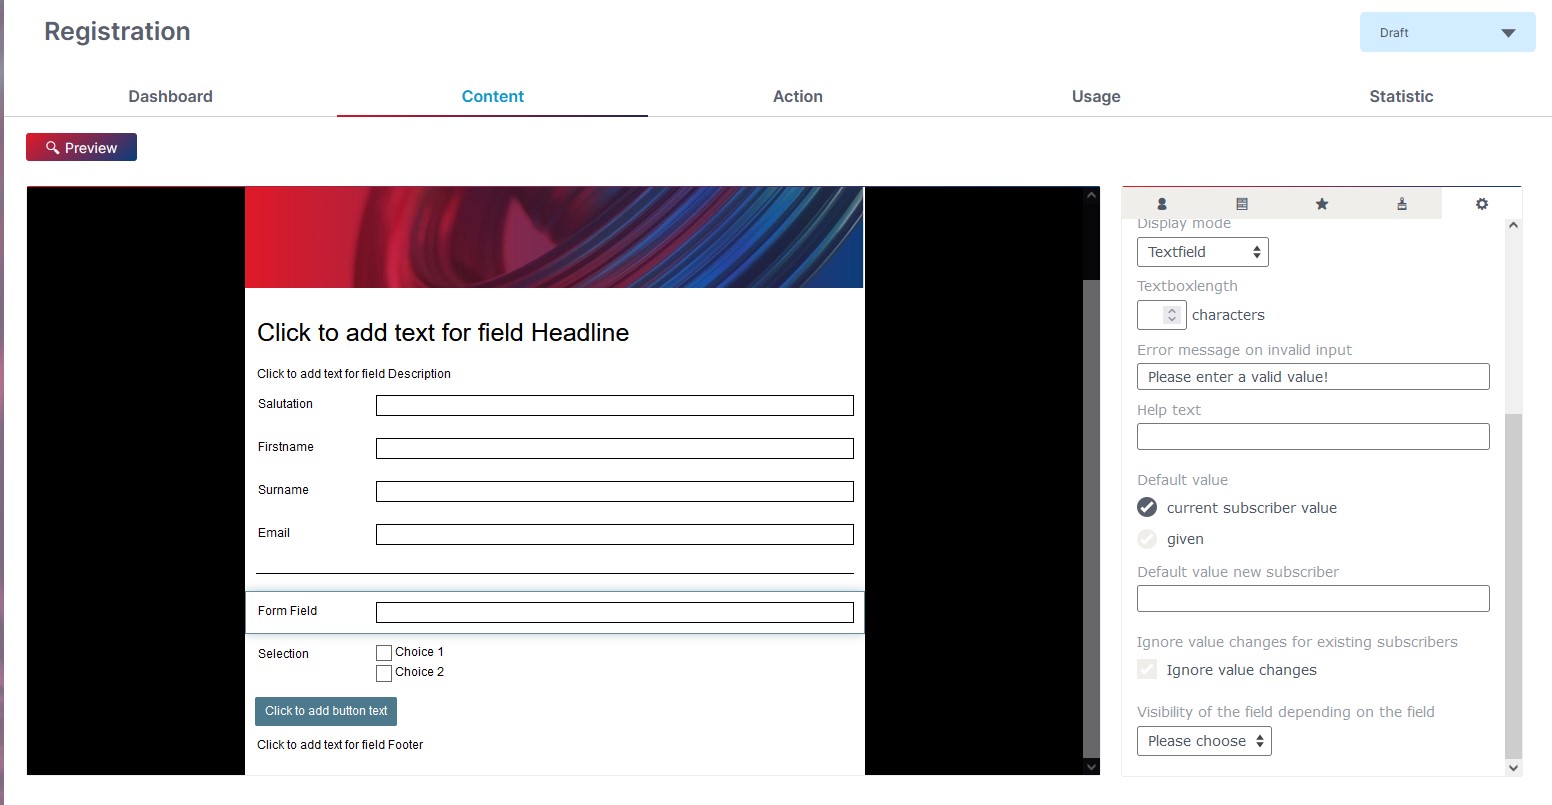
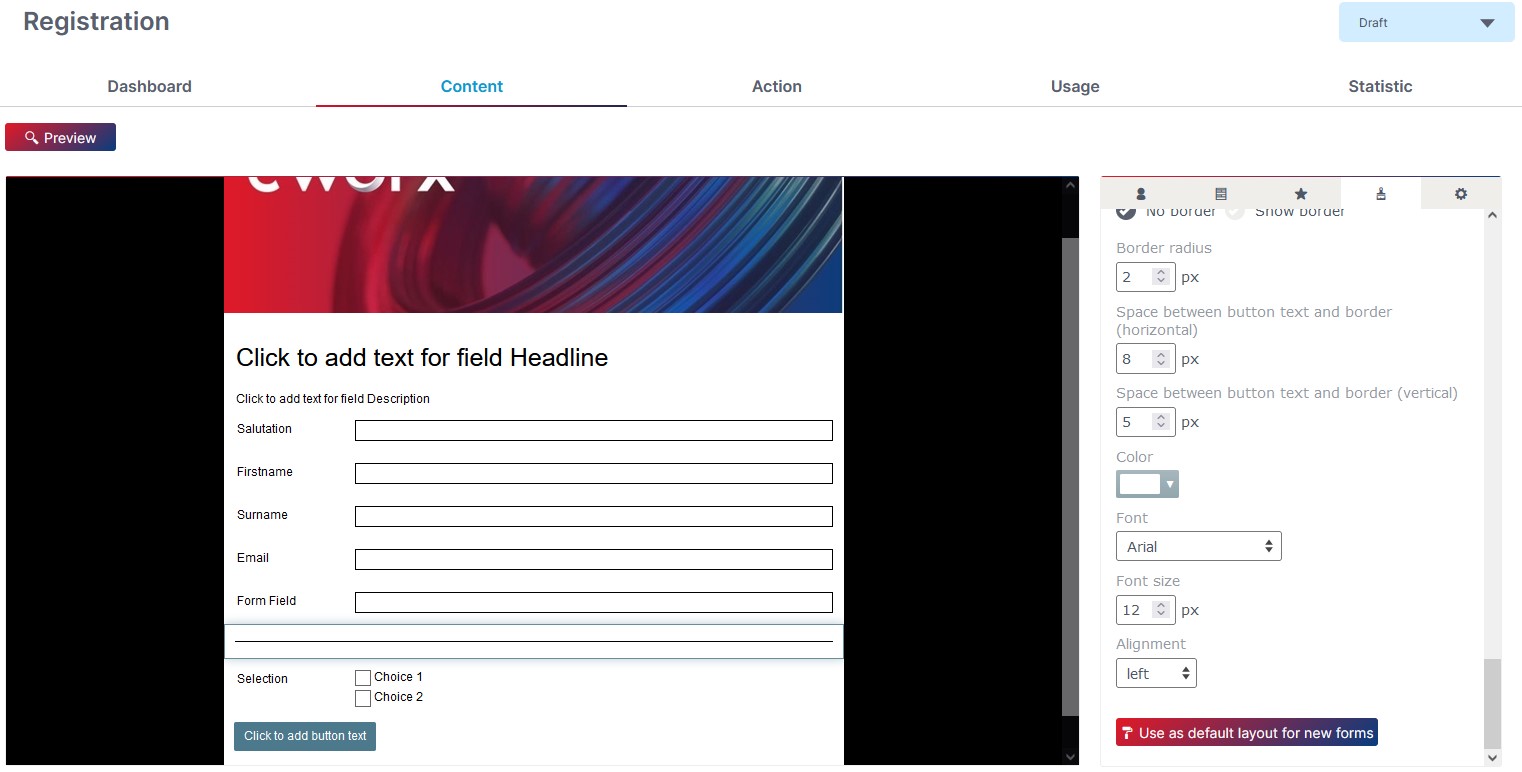
You can adjust the layout of your form in the tab „Content“ by going to the category „layout„. You can set your creativity free and change your form as you desire. For example, you can customize the text or headline color, add a header graphic and shape your buttons and text fields as you want. If the form is changed according to your requirements, you can also use the button „Use as default layout for new forms“ to determine that each new form is created with exactly these layout settings.
How can I determine the default layout of forms?
The default values of your forms can be determined in the menu Administration – System-Settings. Therefore, change to the tab „Form default values“ and choose your individual default layout.
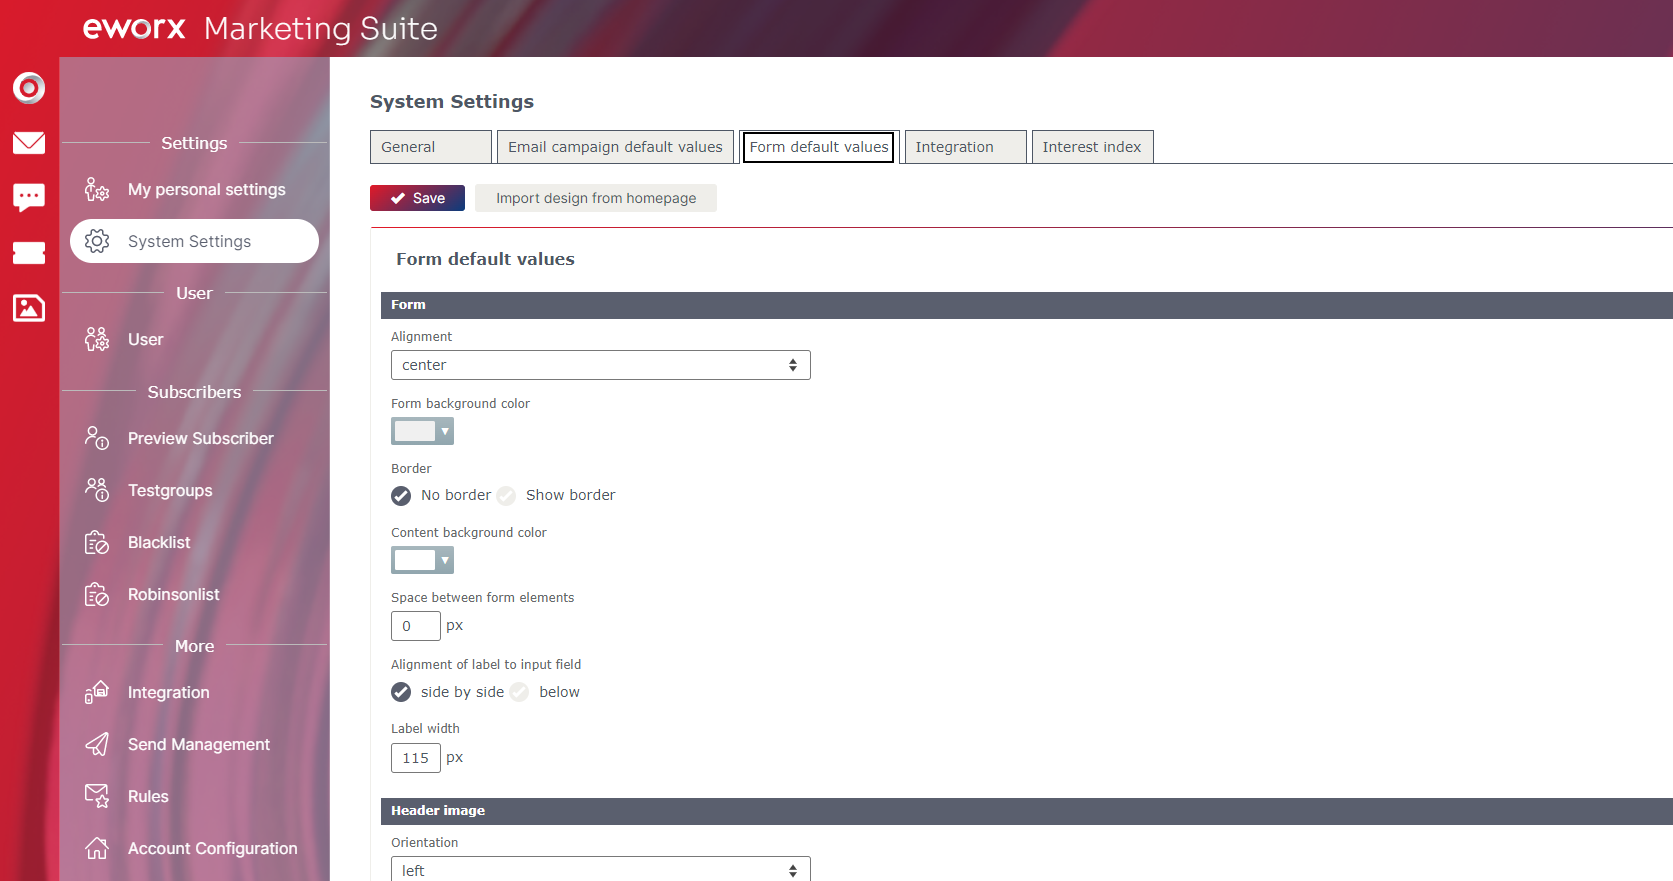
Additionally, you can save the current layout of your form directly in the mailworx form editor. Therefore, use the button „Use as default layout for new forms“ in the category „layout„.
What can I adjust in the tab „action“?
What actions can be triggerd by submitting the form?
In the form editor, you have the possibility to choose between two actions that can be triggered by submitting a form:
- The automatic dispatch of an email campaign.
- The initiation of a workflow process that is created with the eworx Marketing Suite workflow editor.

How can I automatically send an email campaign after submitting the form?
By submitting a form, you can trigger the automatic dispatch of an email campaign. Therefore, select a previously created campaign in the eworx Marketing Suite campaign editor from the drop-down menu. Note that the respective campaign has to be defined as event dependent and ready to send.

How can I automatically start a workflow after submitting the form?
The second possibility you can trigger by sending a form is the initiation of a workflow. You can create a workflow in advance and select it from the displayed list or create a new workflow directly by using the button „Add new automation“
in the eworx Marketing Suite form editor.

With the use of actions and filters, you can easily create a fully automated email marketing process. The eworx Marketing Suite workflow editor will help you with it. You will find all required information in this tutorial.
Which follow pages do I need for my form?
When a subscriber submits a form it is good to let him or her know, whether the registration was successful or not.
Configure the success and error page in the tab „Action„. There are four possibilities for such pages:
- Text: You define a text, which should be shown.
- URL: The forwarding leads to another webpage.
- Close window: The window is closed afterwards.
- Landing Page: In this case, you will be forwarded to a landing page. You can create them in the eworx Marketing Suite, when you navigate to Campaigns / Landing Pages.

Why do I create a success or error page?
If a form has been sent correctly, you can confirm it with a forward page. In the same way, it is also useful to show a sender that there has been a mistake during the sending, with an error page. In case of an error, the sender should repeat the registration process again. Possible mistakes can for example be empty required-fields.
How can I be notified about a subscriber’s form action (registration, sign on, etc.)?
If you want to be informed after a form was sent successfully, you can set the option „Send notification mail“ active and add your email address. This option is available in the tab „Action„. Every required data will be sent to your email account after a form has been submitted.

How can I add all subscribers, who submitted the form, to a subscriber group?
It is possible to assign the subscribers who submitted a form to a static subscriber group. To do so, simply activate the button „Choose static subscriber group“ in the tab „Action„. Now you have two options:
- Create a new subscriber group.
- Assign subscribers to an existing subscriber group.
Note: Form fields can only be exported, if the subscribers were assigned to a static subscriber group.
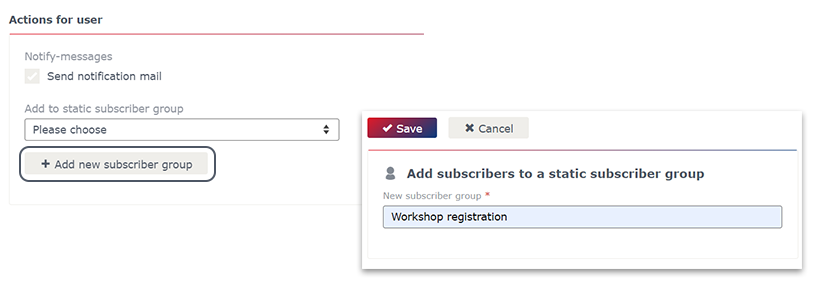
As soon as you have chosen a subscriber group, you can define, if you want to add only new subscribers or existing subscribers as well.

What can I adjust in the tab „usage“?
Where can I use forms?
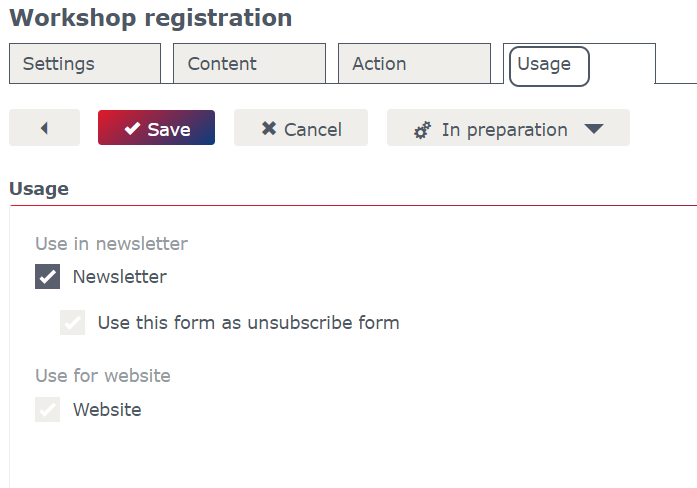
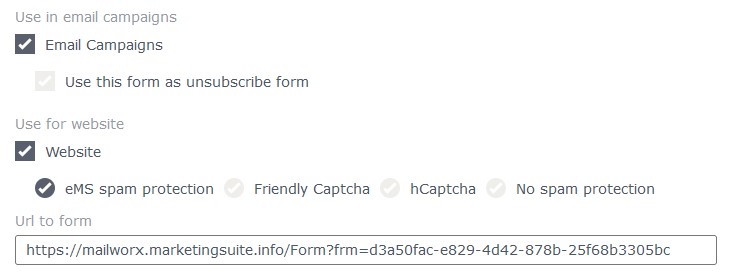
You can choose between integrating your form in a newsletter campaign or on your website. You can define the appropriate settings in the tab „Usage„.
How can I link a form in a newsletter campaign?
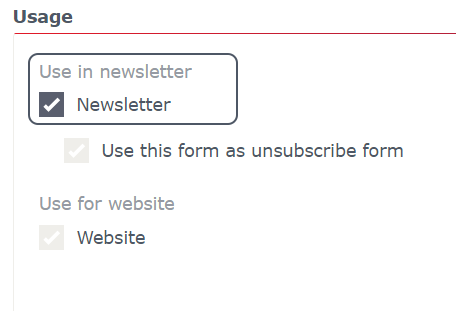
In order to link a form in a newsletter, you have to select the option „Newsletter“ in the tab „Usage„. The only other required setting in the eworx Marketing Suite form editor is the definition of the data matching process. All important information about this is recorded here.
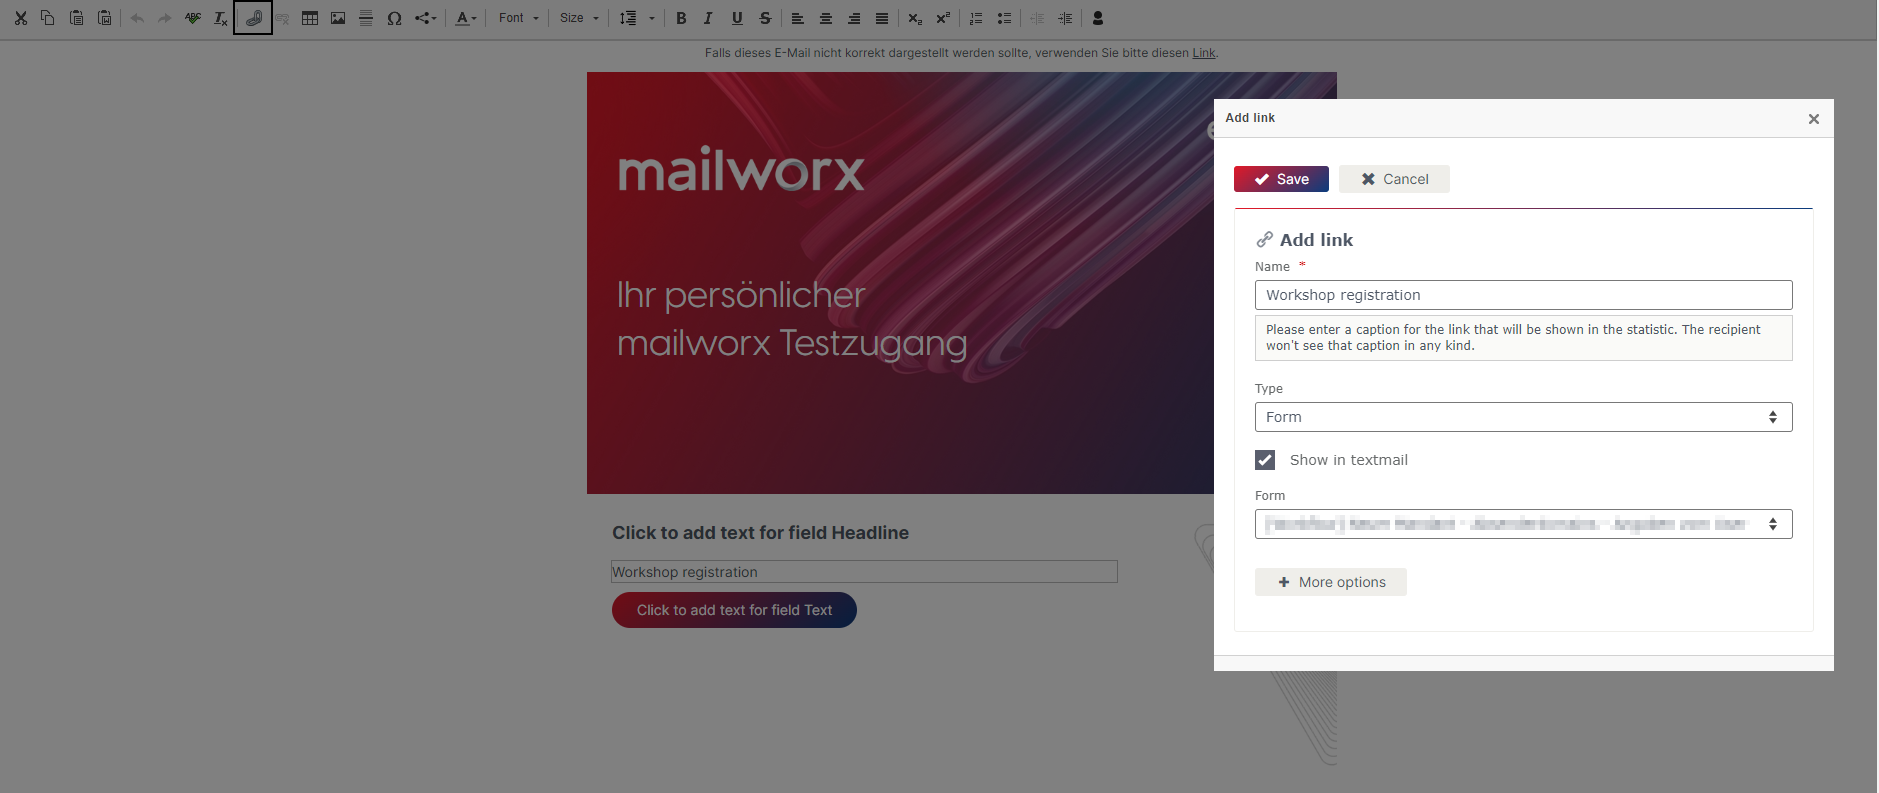
To link a form in a newsletter you have to choose „Add link“ in the settings of the specific article. Set the link type to form and you will see a list of all your created forms. Pick the form, which should be linked and save the settings.
How can I integrate a form in a website?
Choose the second option in the tab „Usage“ to integrate the respective form into your website. Further settings will appear to you.
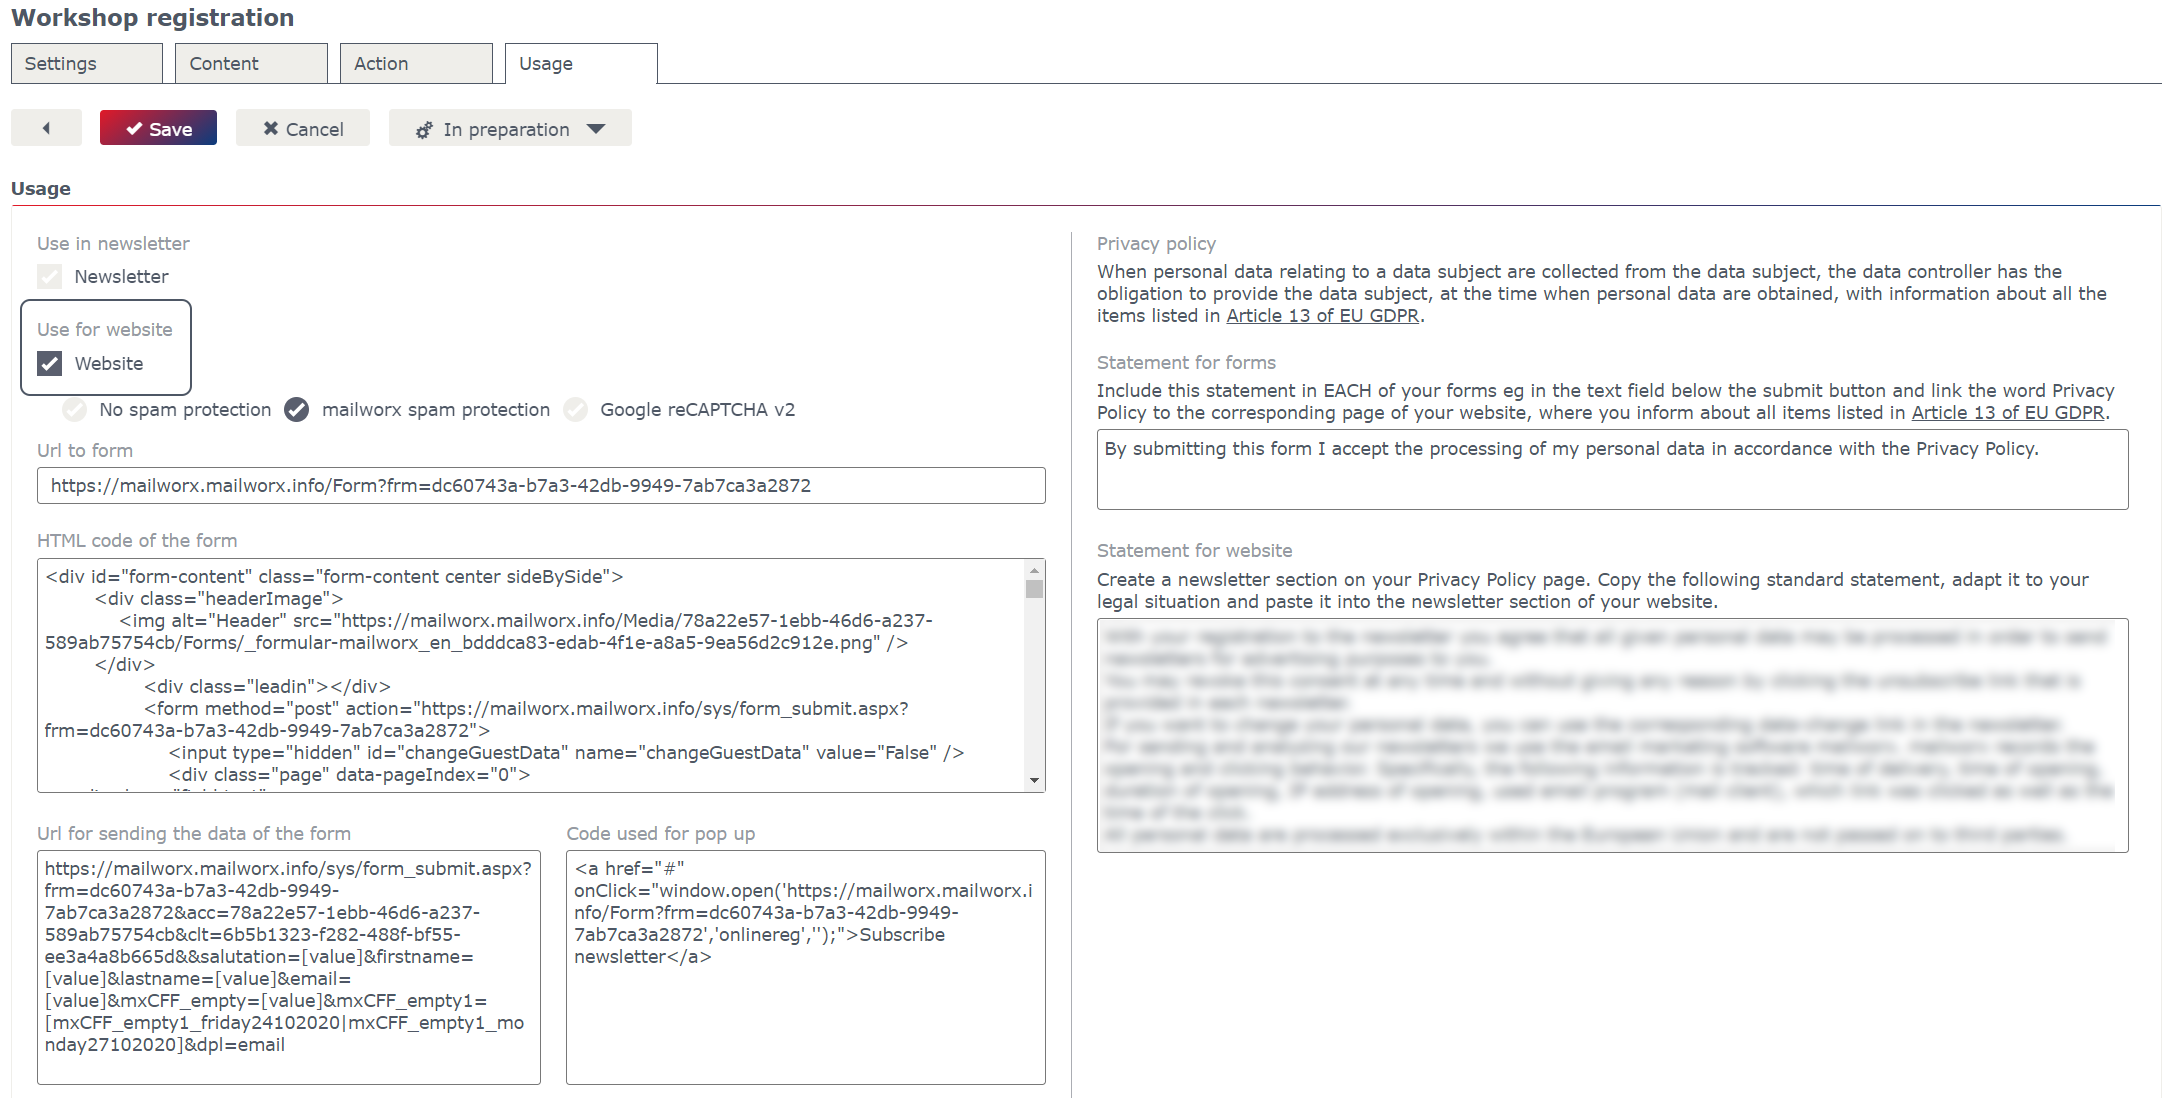
By activating the spam protection, the eworx Marketing Suite checks the filled fields according to their plausibility. It checks, whether the subscriber is on any of the eworx Marketing Suite blacklists and what times the form has been sent (just if it was sent several times). Form spam programs, which fill in and send forms automatically, can be reduced to an absolute minimum.

Additionally, you can find different options to integrate the form into your website:
- You can copy the whole HTML code and fill it in your site.
- Choose the „Code used for pop ups“ to open a new window including the form. Be aware that some browsers don’t allow Pop-ups.
- You can create a link on your website, which leads to the form by using the code „Url to form“.
- mailworx automatically creates a QR Code, which can be downloaded as JPG.
Note: If you modify field forms, check if the form fields on the website change too. Otherwise, insert the form again in your website.
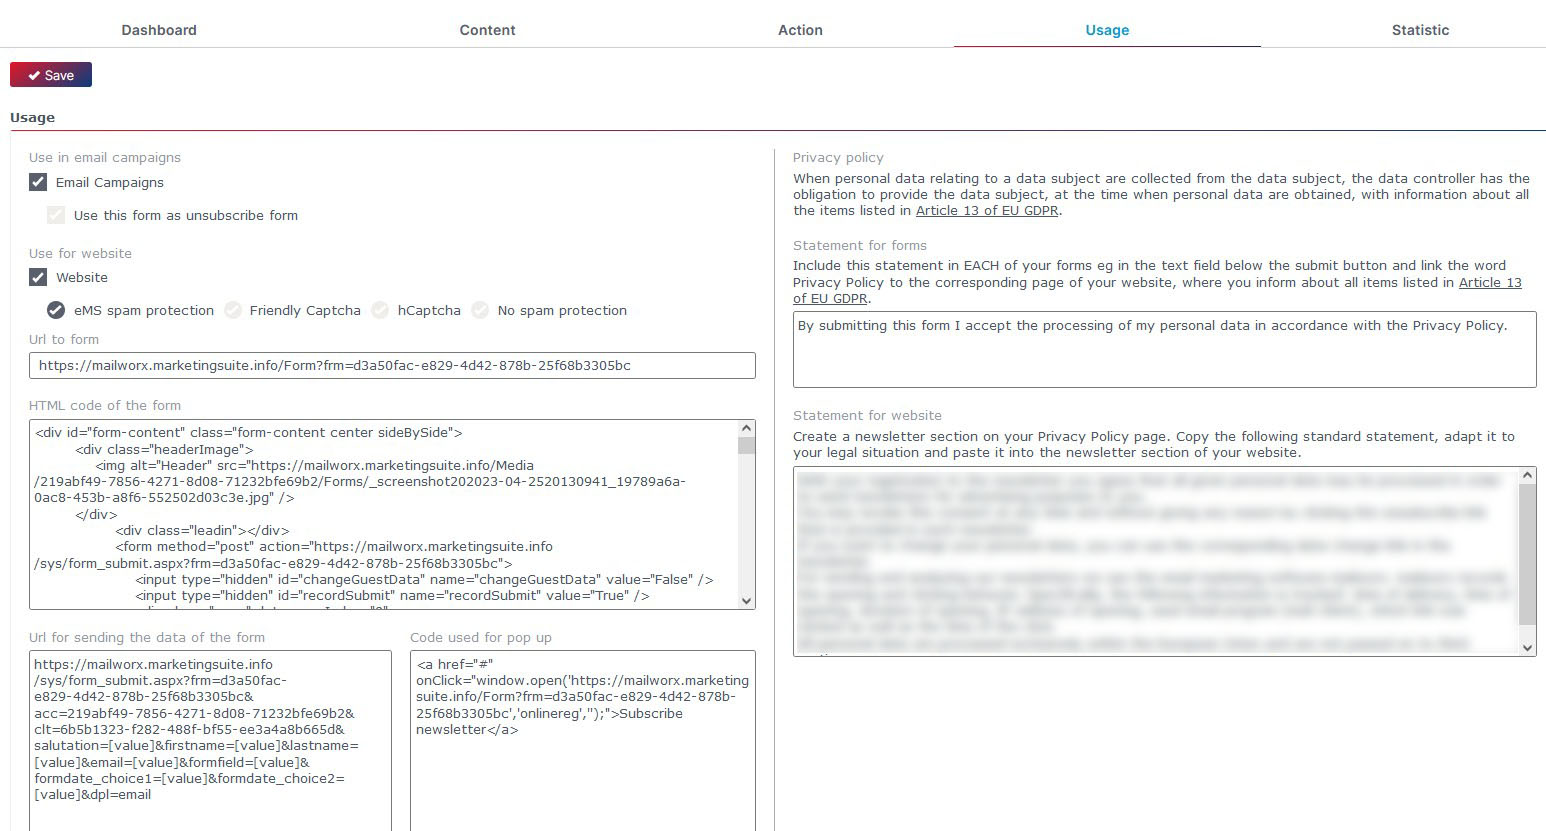
When matching subscribers, you can decide for yourself whether the subscriber is updated or newly created. All important information you will get here. In this case, you can also choose the option „Error at double registration„. If you have activated this field, there will be a check if there already exists a subscriber with the same data. If so, an error-page occurs.
What happens when matching the entered data with your subscriber database?
No matter if you link a form from the newsletter or include it on the website. In any case, you have to determine how or whether the data should be matched with the existing subscriber database.
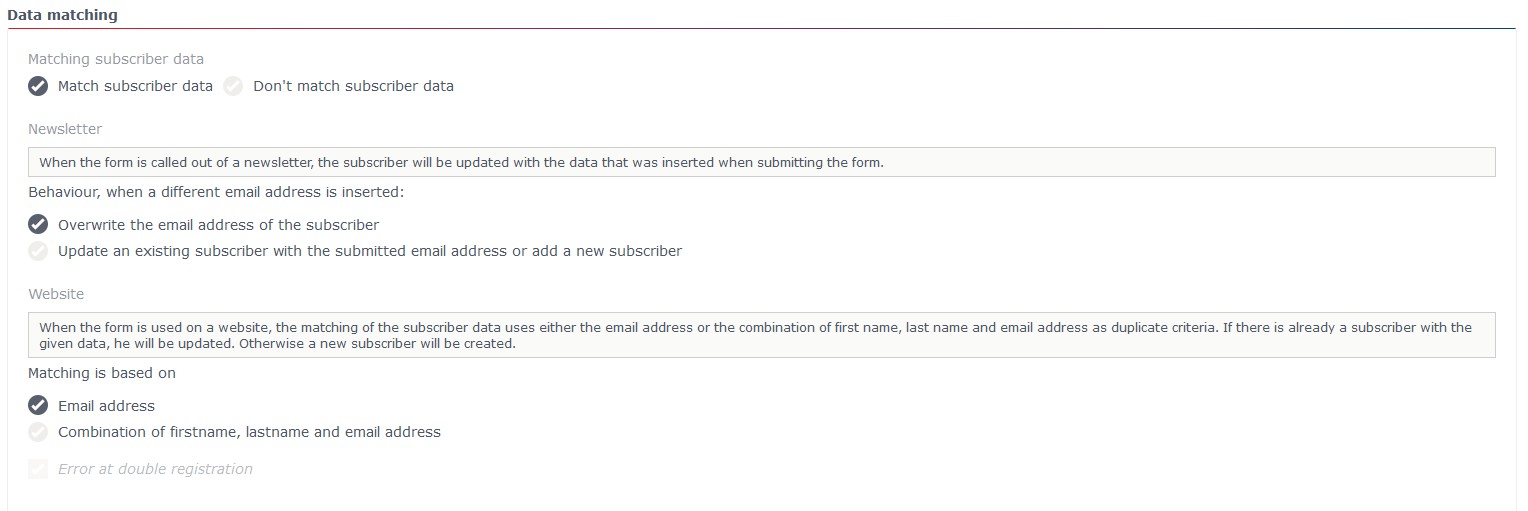
What does „Match subscriber data“ mean?
If the form is included in a website and is submitted there, the entered email address is matched with the existing subscriber database. It is checked whether a subscriber already exists with the entered email address. If this is the case, the data is updated – if not, a new subscriber is created.
In the case of a link in a newsletter campaign, the entered email address is also matched to the existing subscriber database. You can choose whether the email address of the respective subscriber should be overwritten or an already existing subscriber with the respective email address should be updated with the new data. If the email address does not exists, a new subscriber is created.
What does „Don’t match subscriber data“ mean?
When the form is submitted – no matter whether via the website or newsletter – no data is matched with the existing subscriber database. A new subscriber is created with the entered data.
Note: Due to the fact that no data is matched, duplicates can occur in your subscriber database.
How can I test a form?
For checking a form choose the tab „Usage„, copy the url and insert it in a new browser tab.
Note: Do not fill out a form in the preview mode or in a test email, because otherwise the preview subscriber „John Doe“ could be overwritten.
How do I select a default form for profile changes?
You will find this option in the menu System-Settings – General within the section „Default form for profile change„. There you can choose one of your forms as a „Change Data“ form for your campaigns. This form is linked in the footer of your campaign to give your subscribers the opportunity to update their own data.
